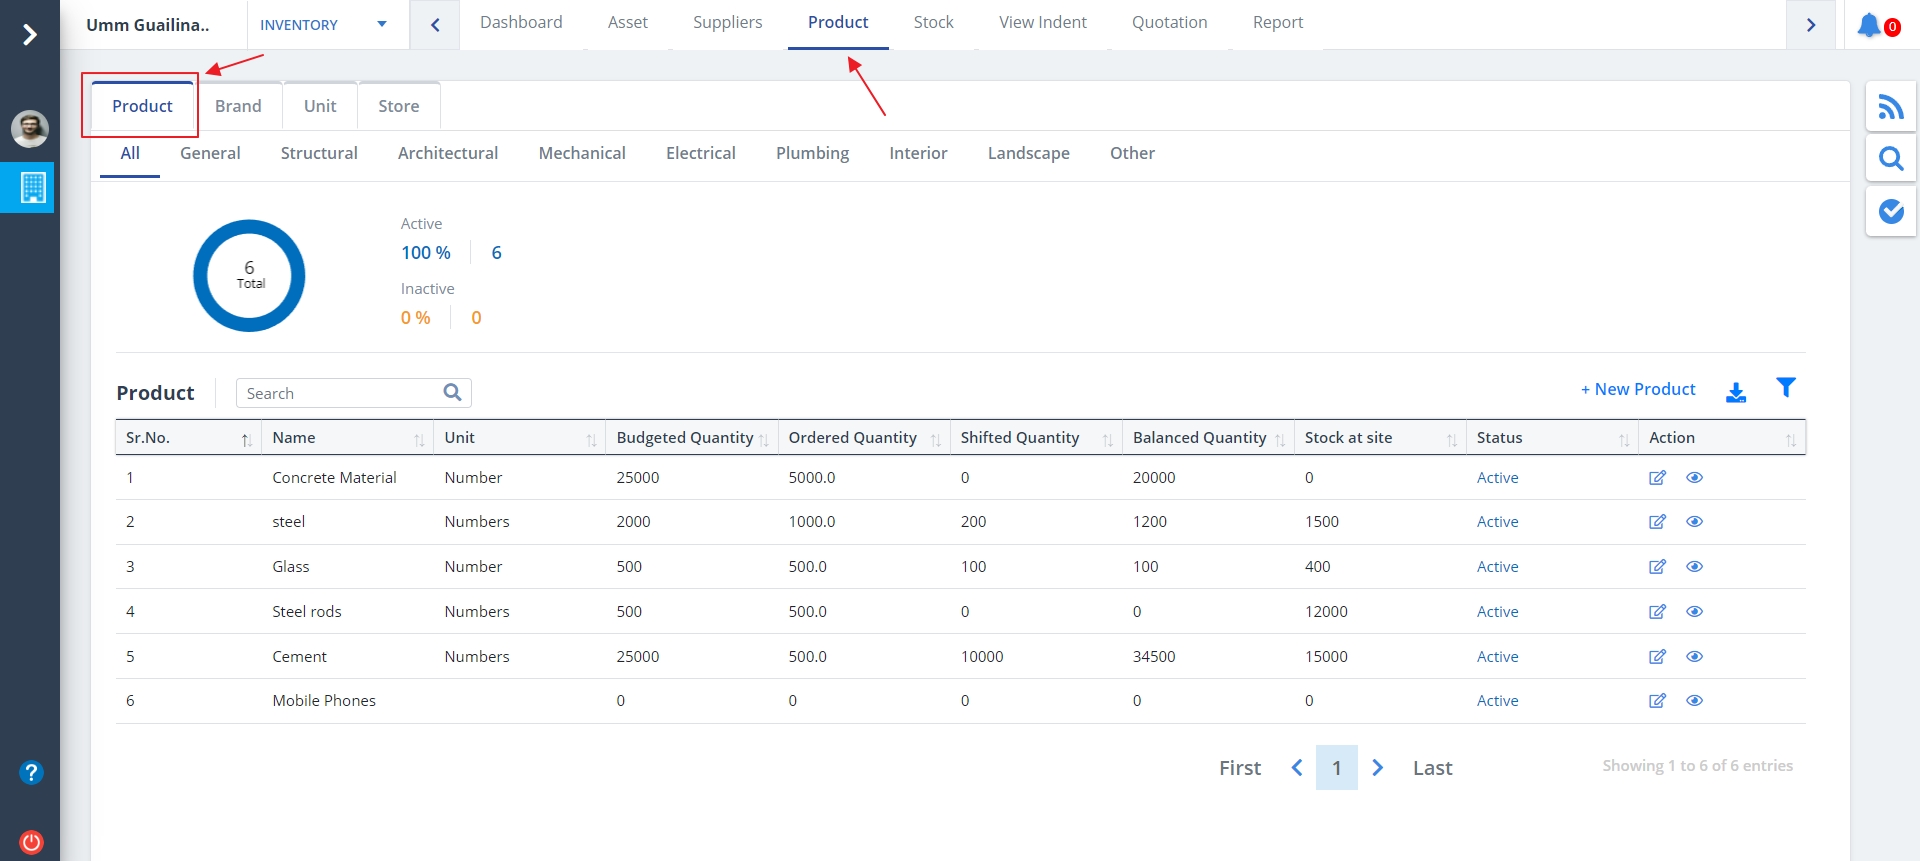
Product List
- The product section extends the information on brands to categorise products commissioned to the project belonging to these brands.
- By the virtue of inputs from experienced professionals in the field of construction, Skystruct has carefully factored in the categorizations that are of utmost relevance.
- Mapping products to brands helps in ensuring quality and upkeeping customer commitments. The tracking is through all phases of construction.
- Select Product from menu.
- Product listing will be visible on the basis of category if defined already.
- There are multiple tabs in Product Module namely; Product, Brand, Unit, Store.
- The Product Tab is shown by default.
- Use the 2nd button under Action column to preview the Product image.
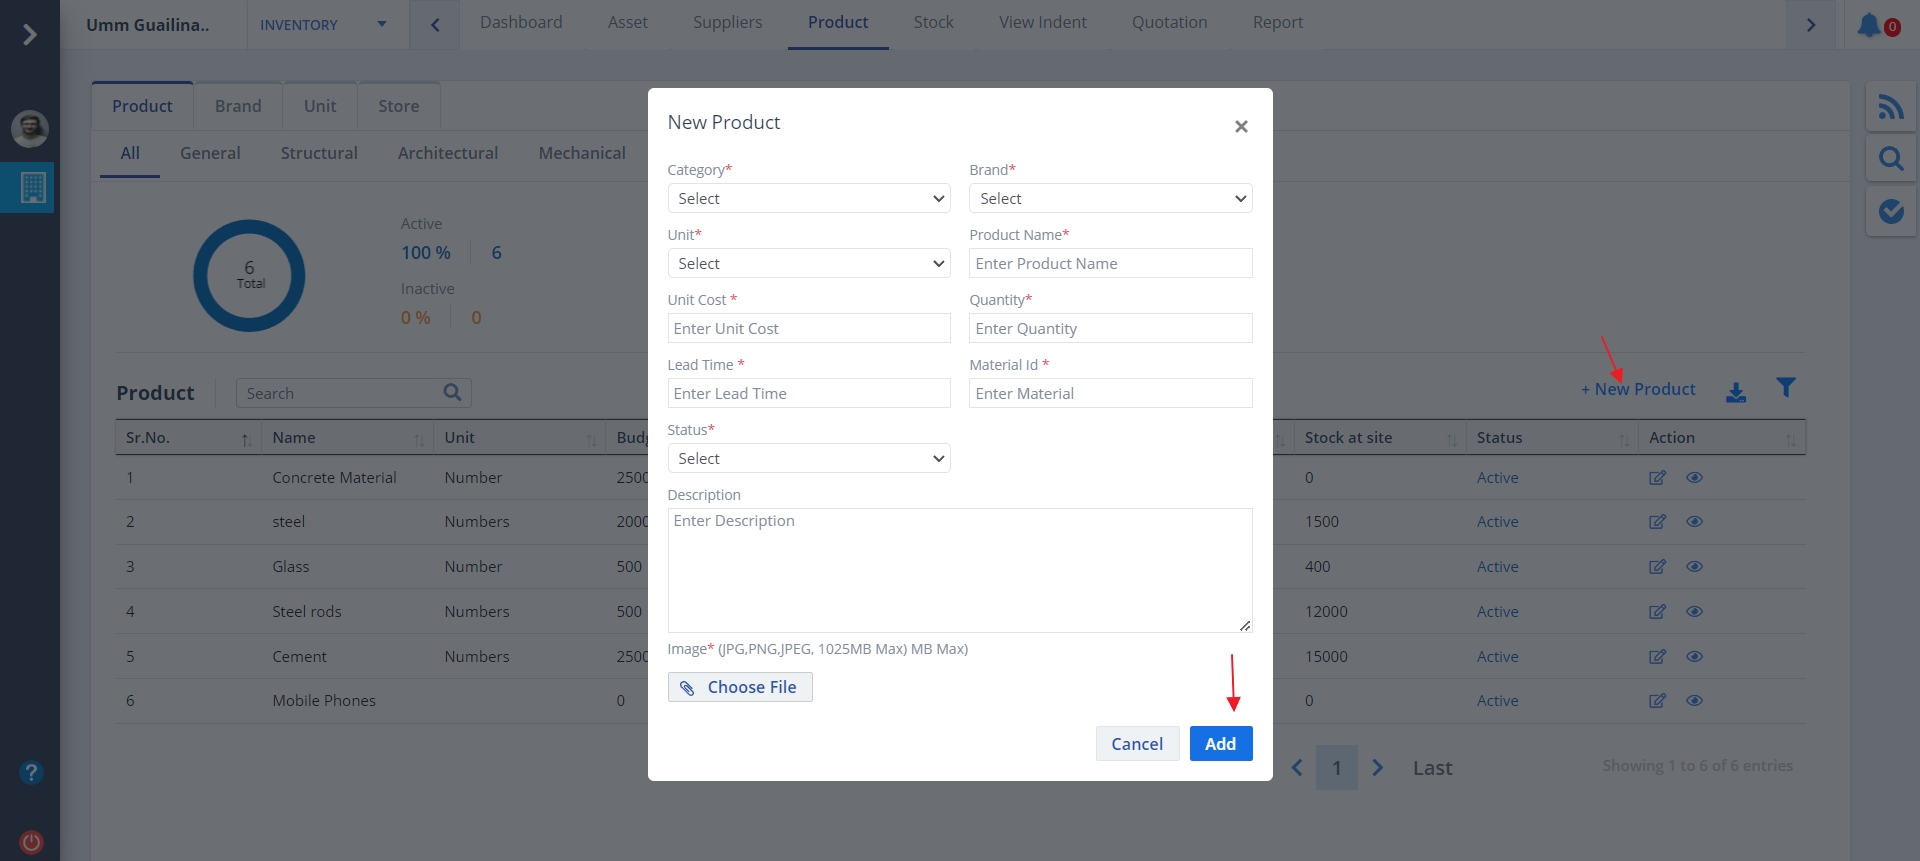
New Product
- To add a new product, click on New Product.
- Product will be added on the basis of brand, i.e. Product has to be a part of some brand.
- Select the status and click on Add.
Set the status to Active if the product is currently active, else set it to Inactive.
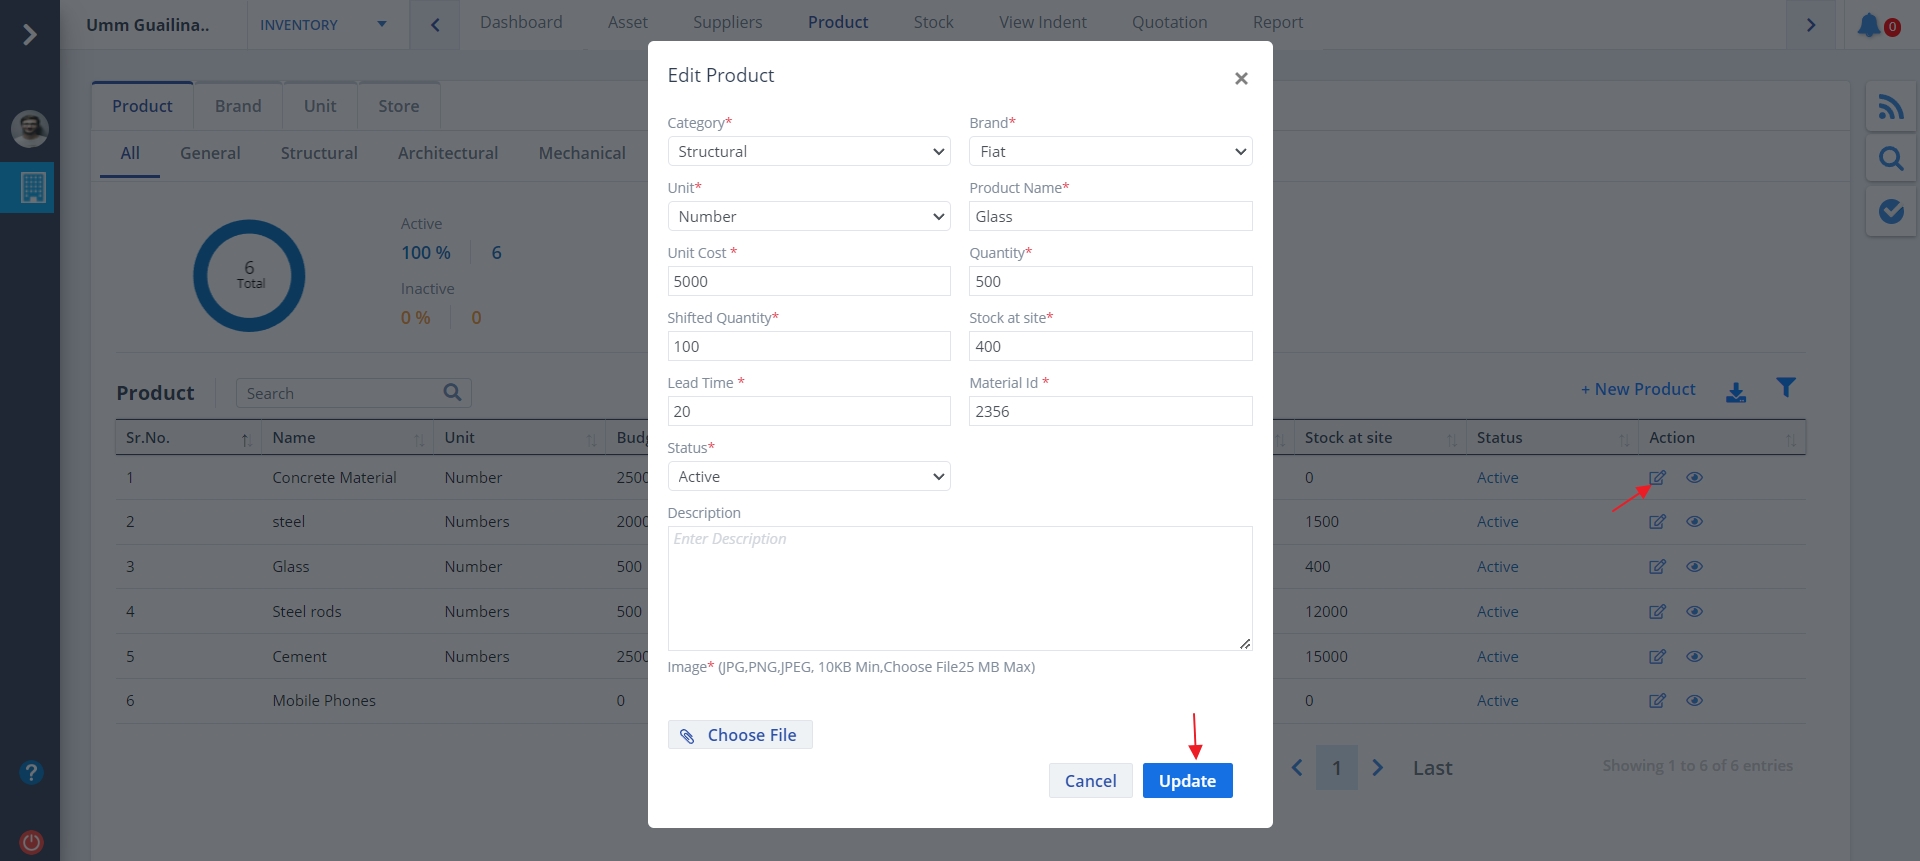
Edit Product
- Use the Edit under the Action column to make changes to the existing product.
- Select appropriate category and status.
- Ultimately click on Update.
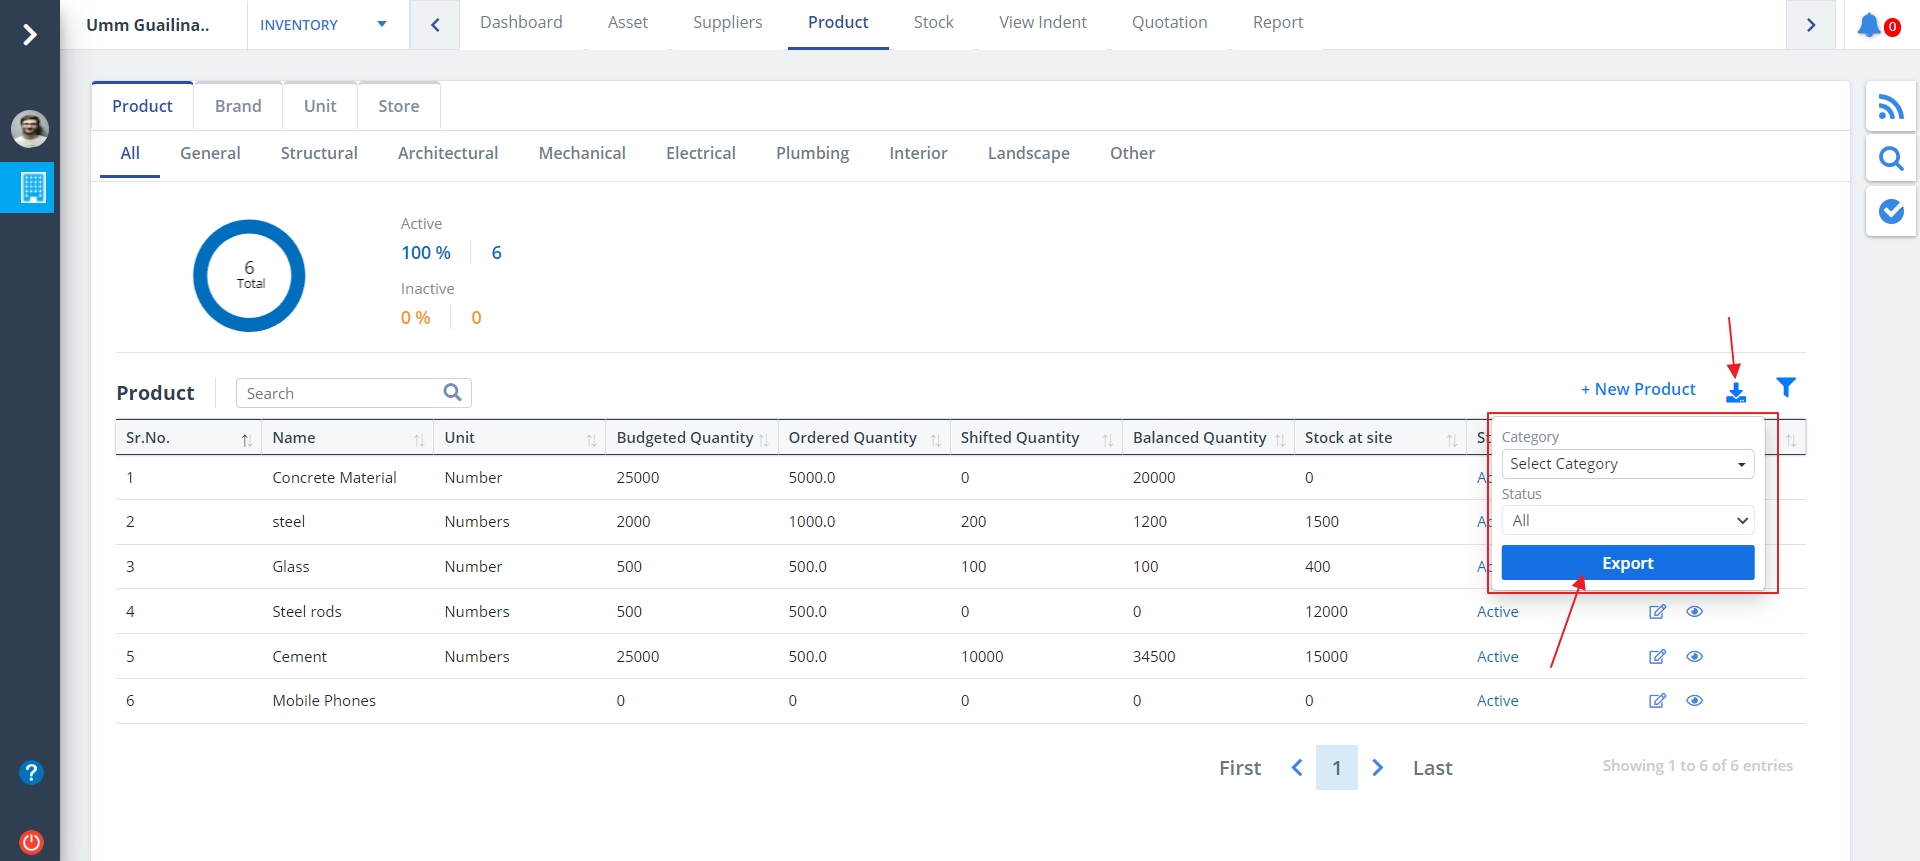
Export Product
- Click on the Export button as shown to download an excel for the required data.
- Select category and status. Then click on Export.
Filter Product
- Click on the Filter button as shown to view limited data based on your input.
- Select status and click on Search.

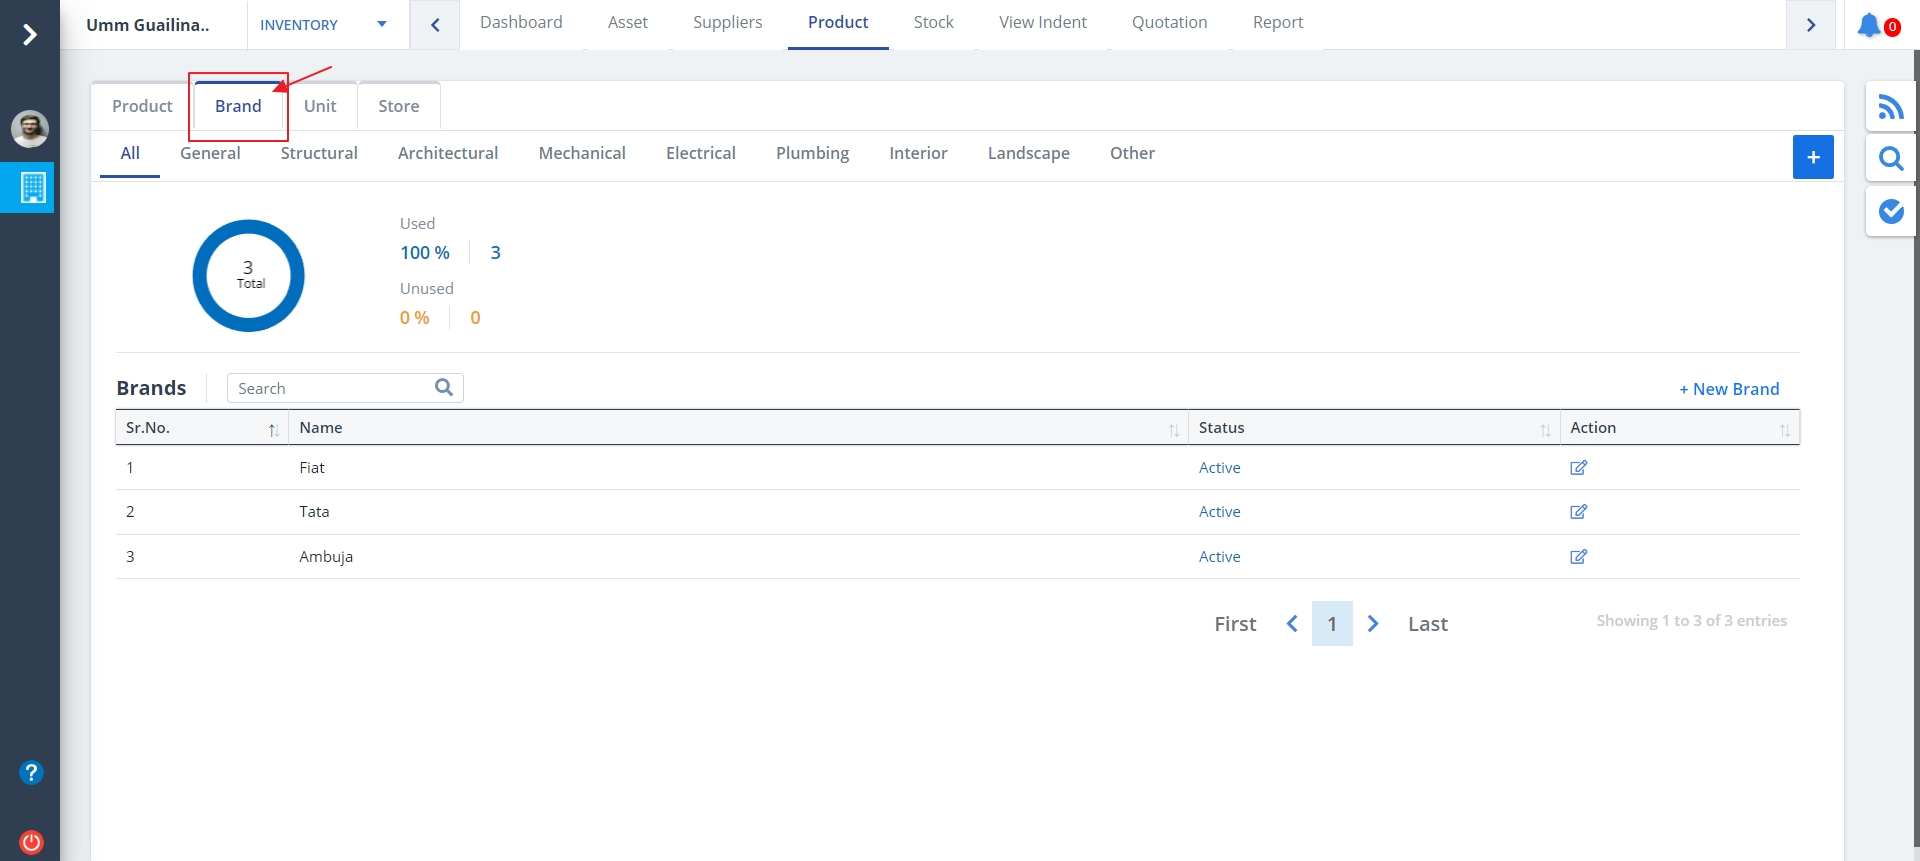
Brand List
- Click on the theBrand tab as shown to view the Brand Details list.
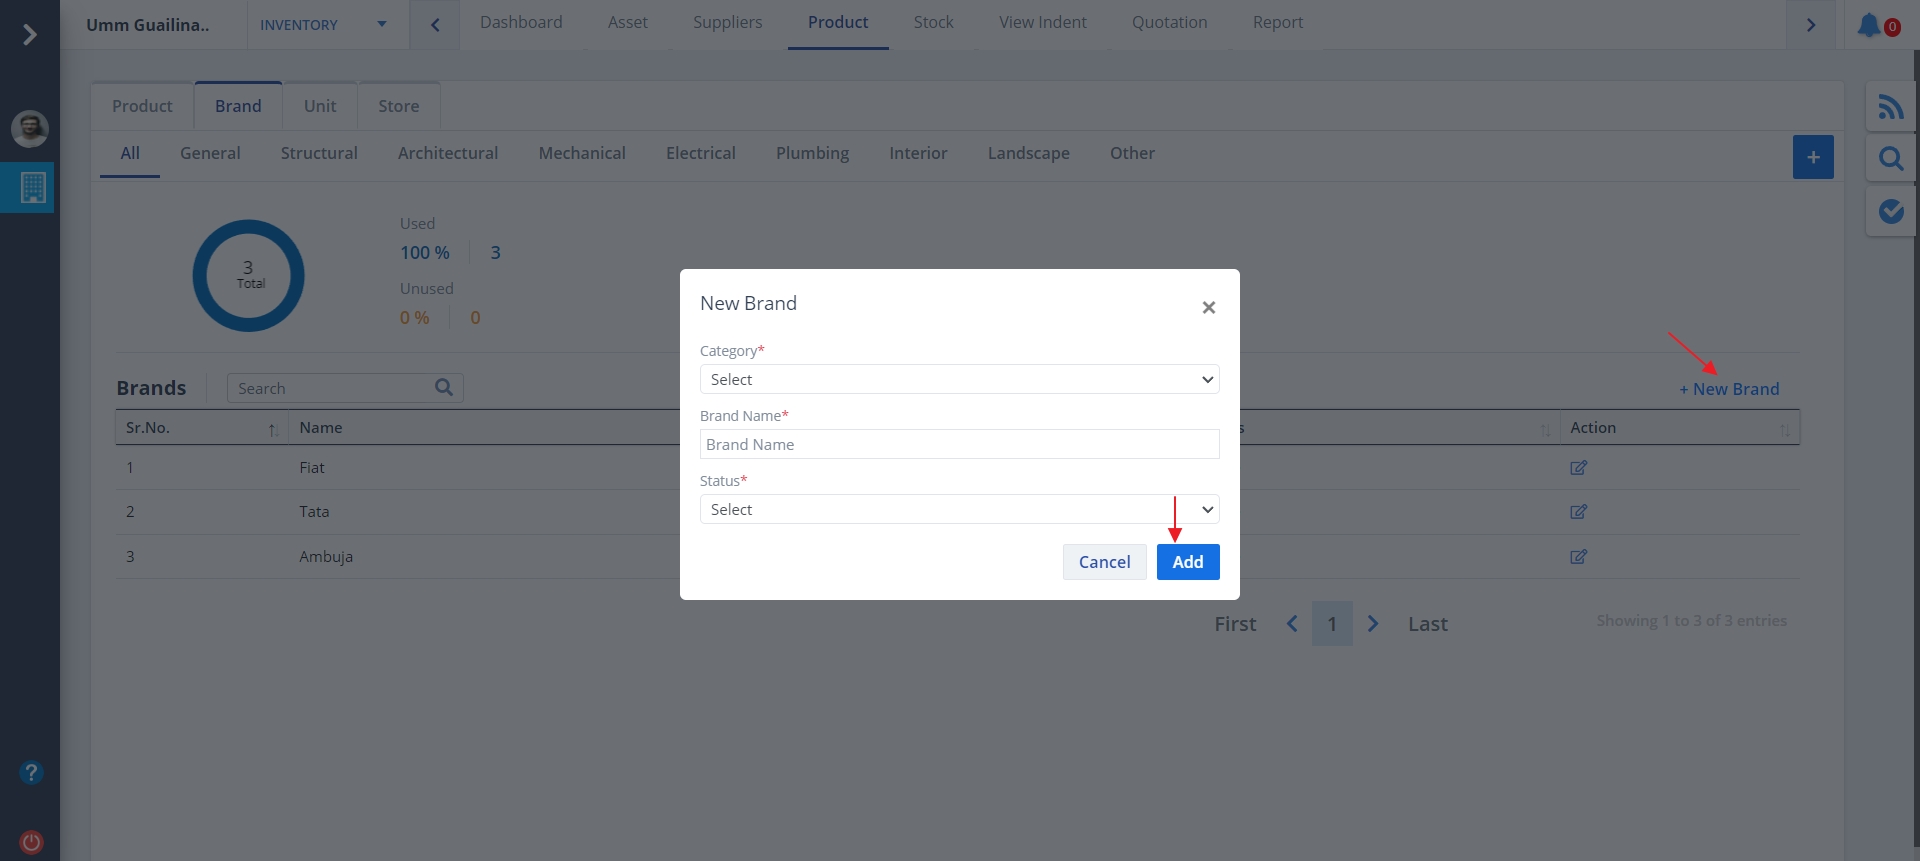
Brand Add and Edit
- Click on the New Brand to add a new brand as shown.
- Mention all inputs and click on Add button
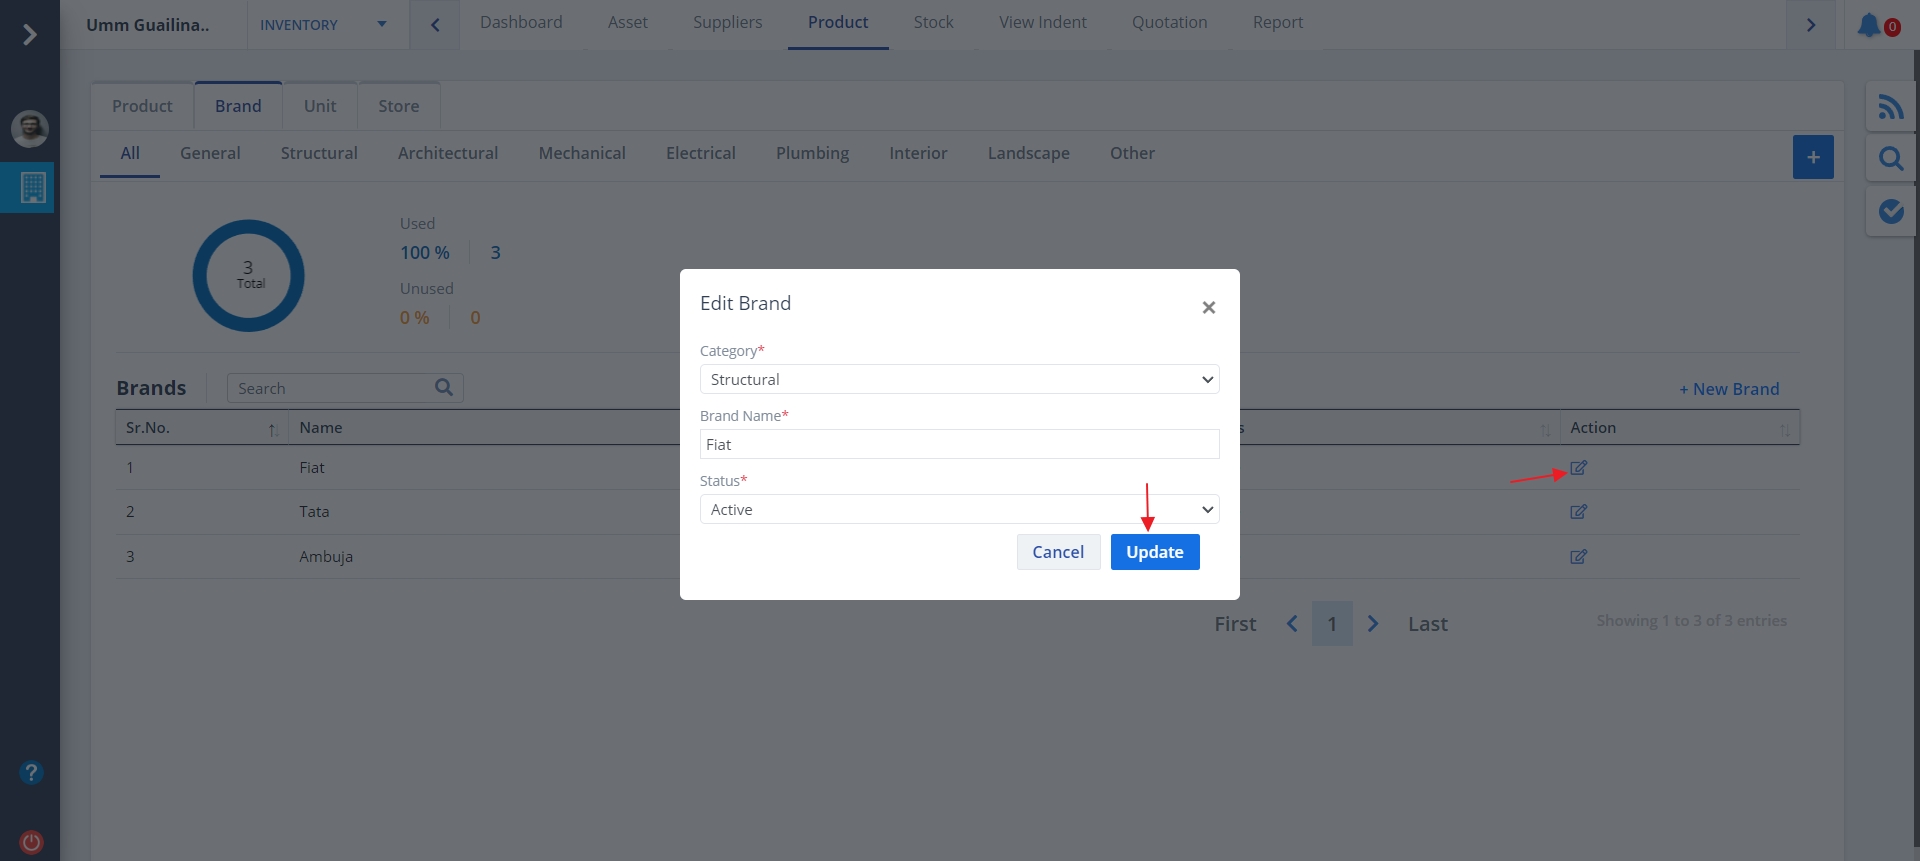
- To edit a brand, click on the button under Action column.
- Modify details if required and click on Update.
Brand Category
- Click on the Plus icon to add a new category as shown.
- A list of all the categories will be shown.
- Add a new Category by mentioning name and click on Add.
- You can delete a category too just by clicking Delete

- You can use the Edit as highlighted to modify a category.
- Just change the name if required and click on Update.

Unit List
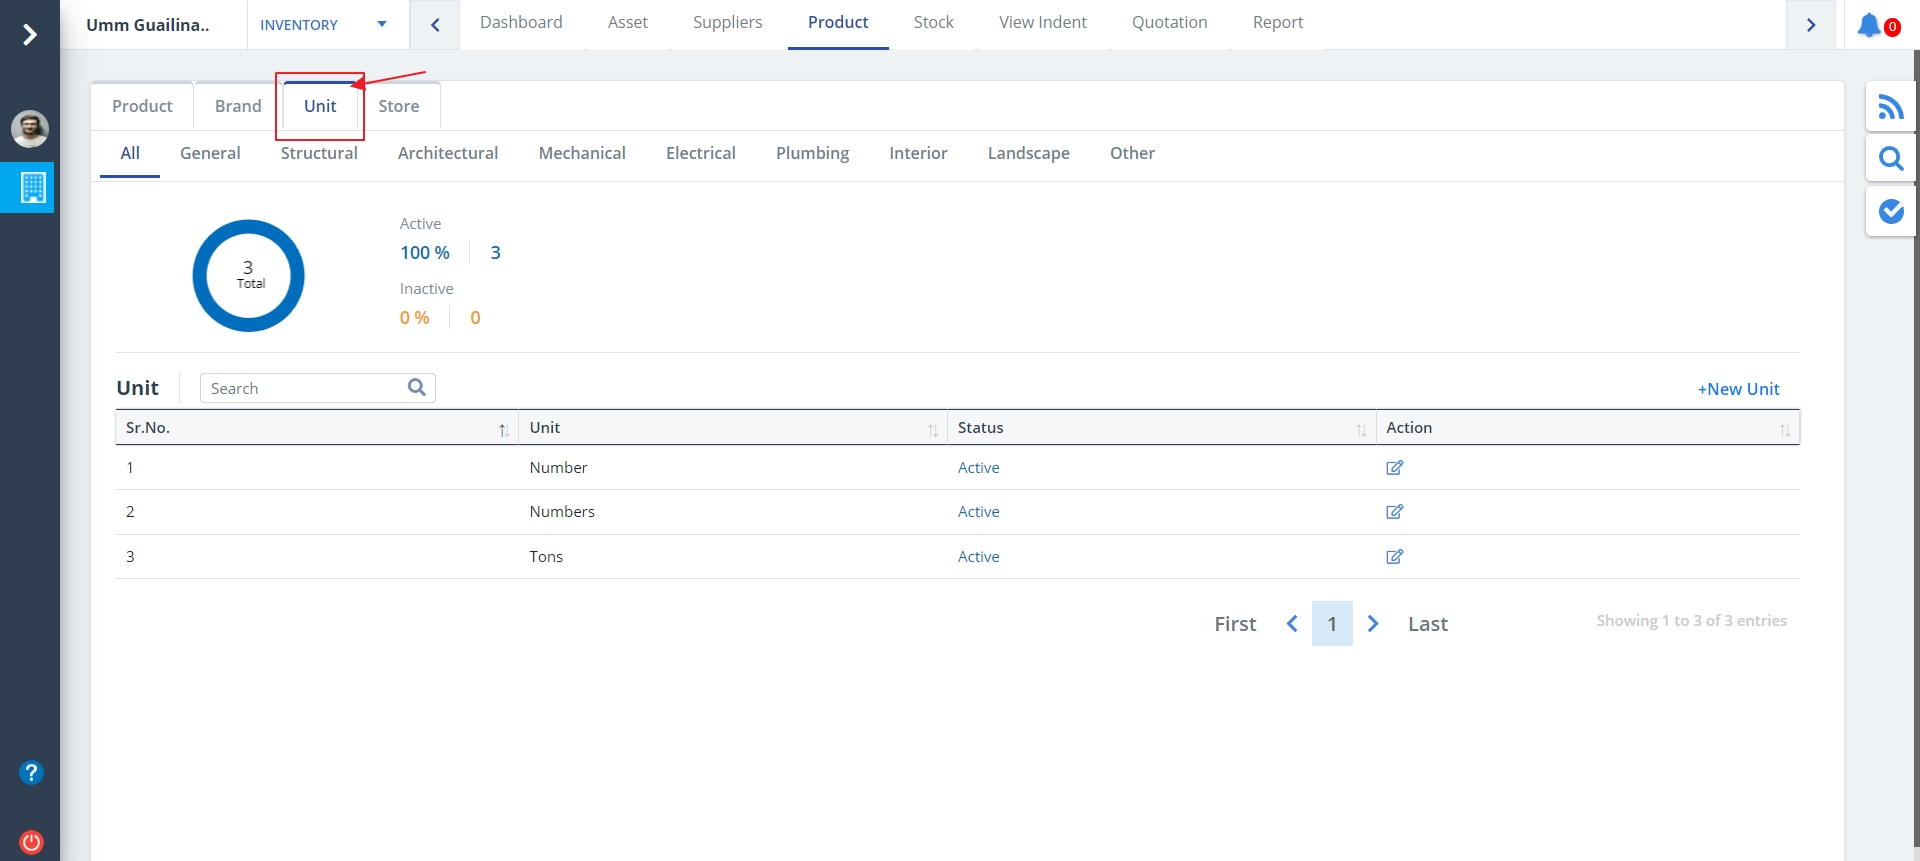
- Click on the theUnit tab as shown to view the Unit Details list as shown.
Unit Add and Edit
- Click on New Unit to add a new Unit.
- Mention proper details and click on Add button.

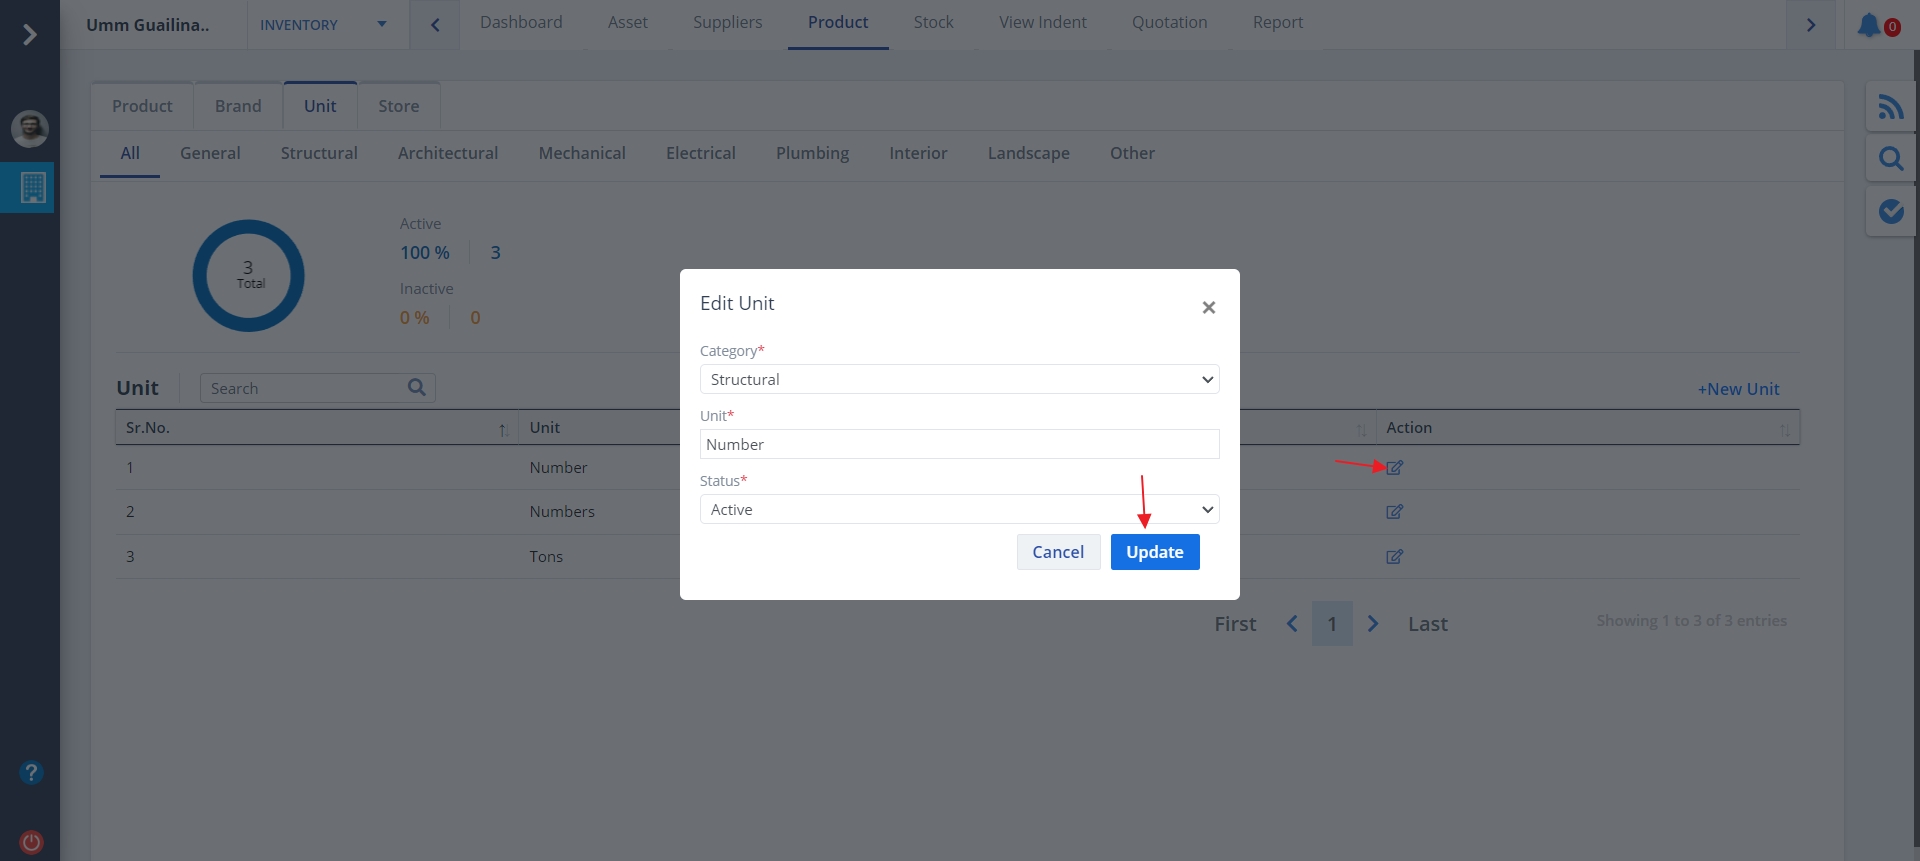
- Click on Edit under Action column to modify the existing Unit data.
- Modify data as per requirement and click on Update.
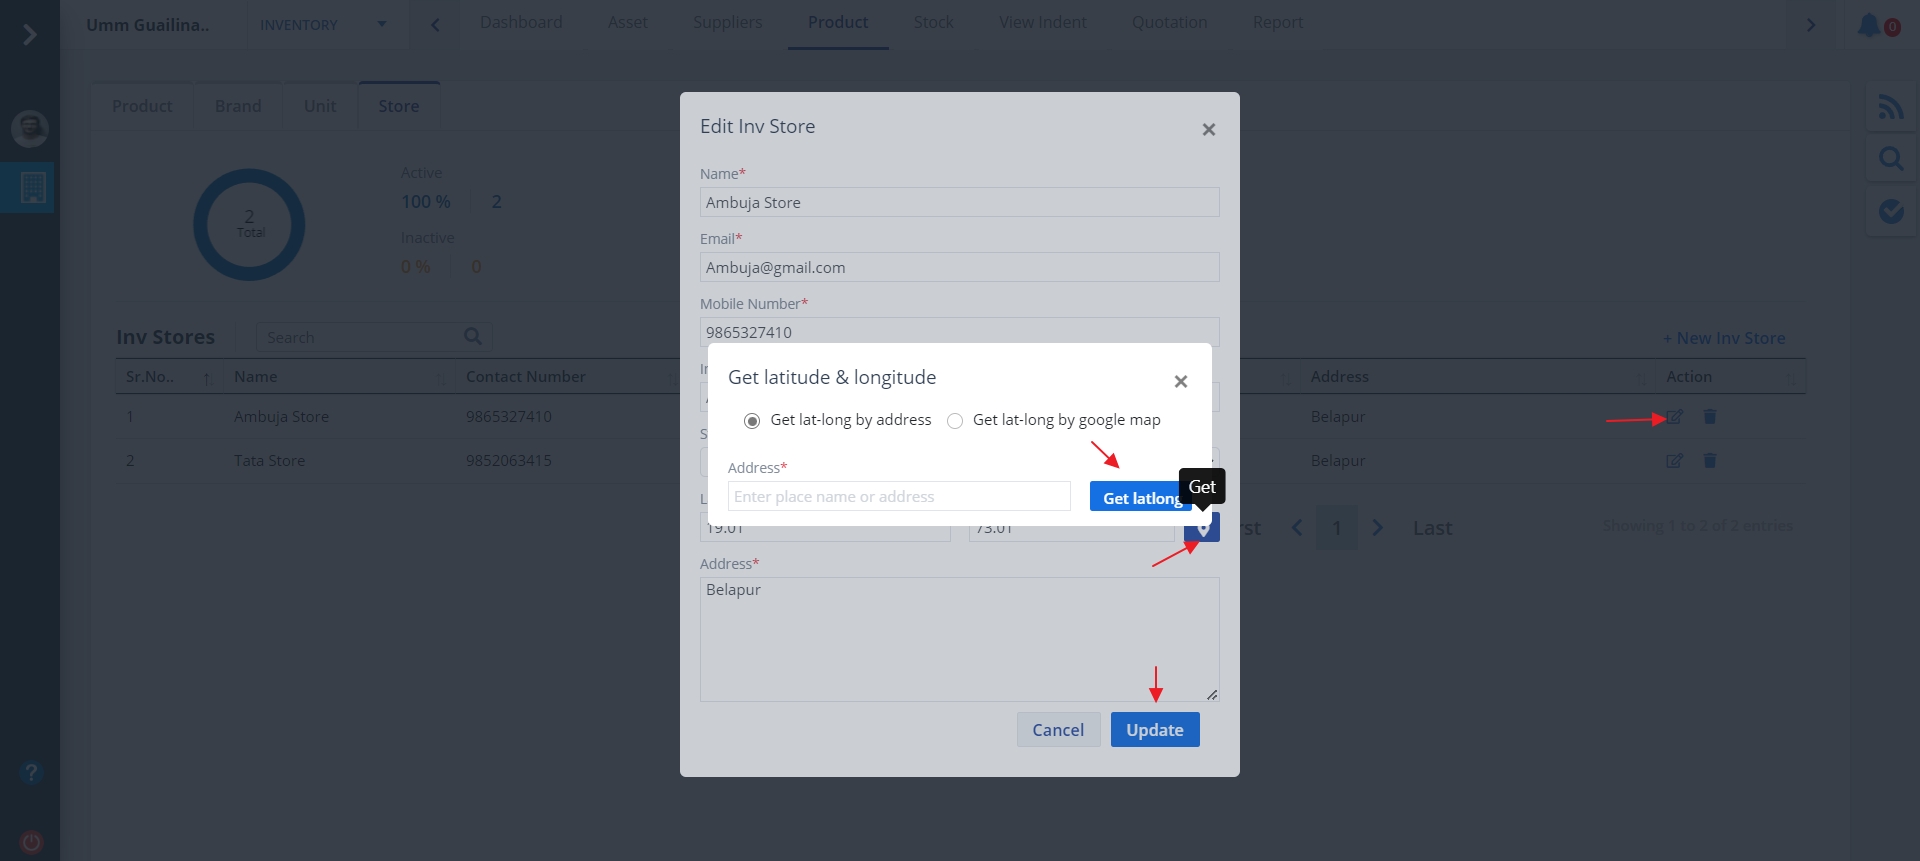
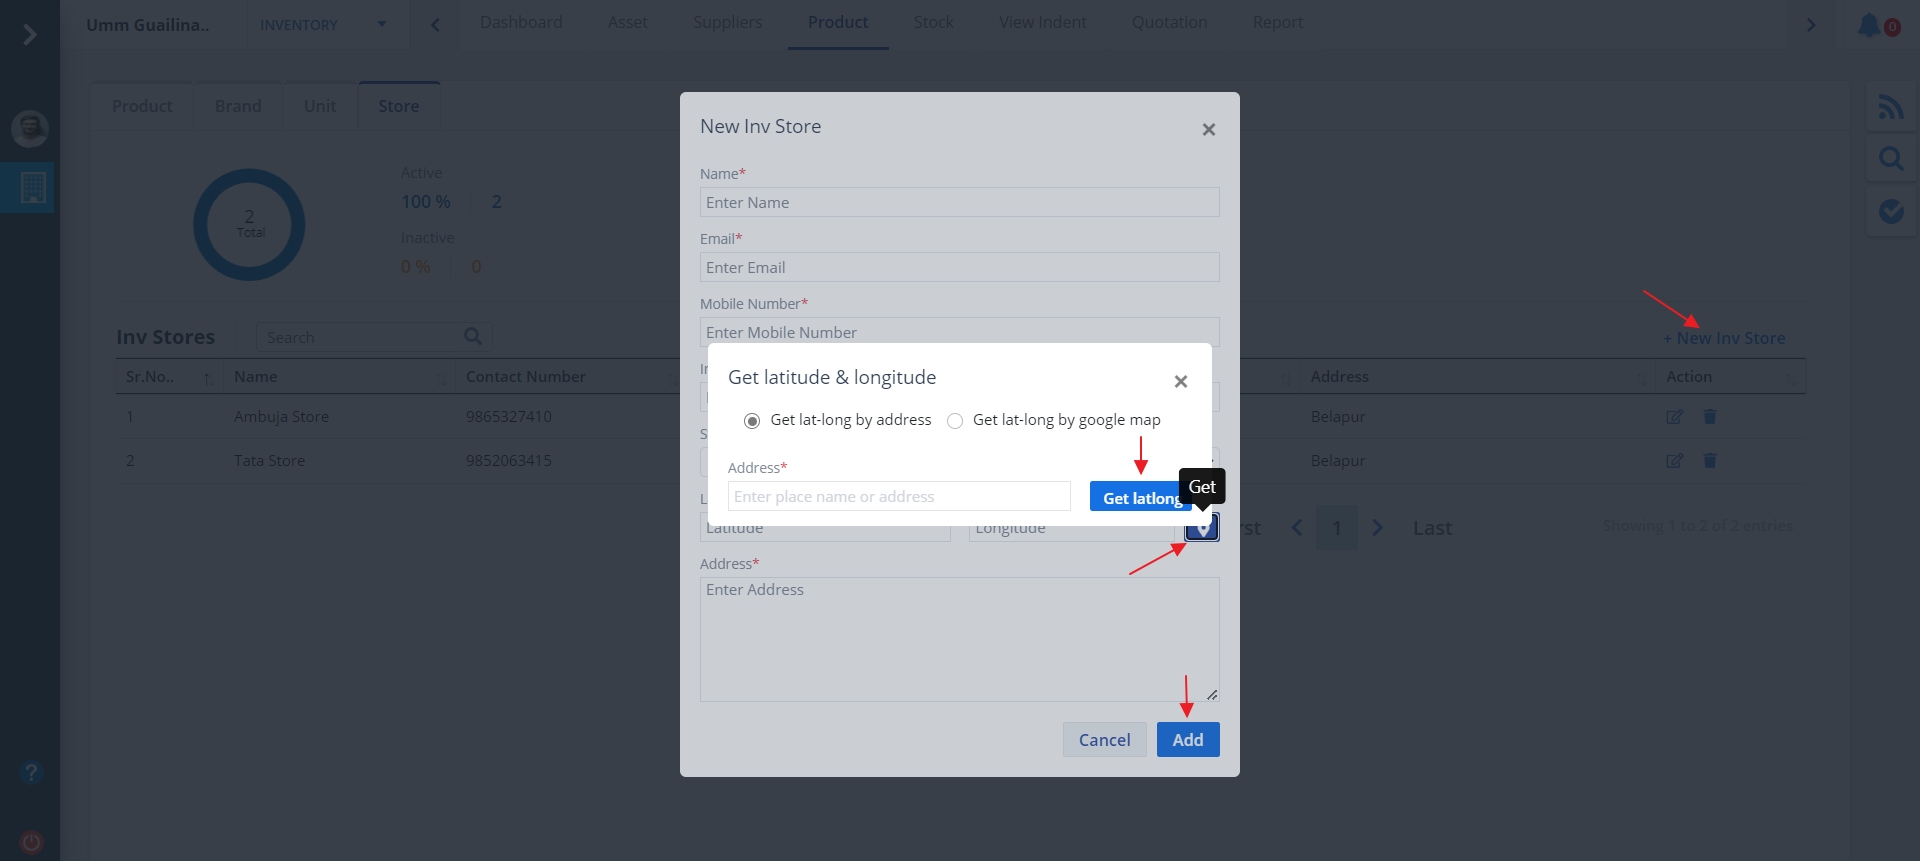
Store List
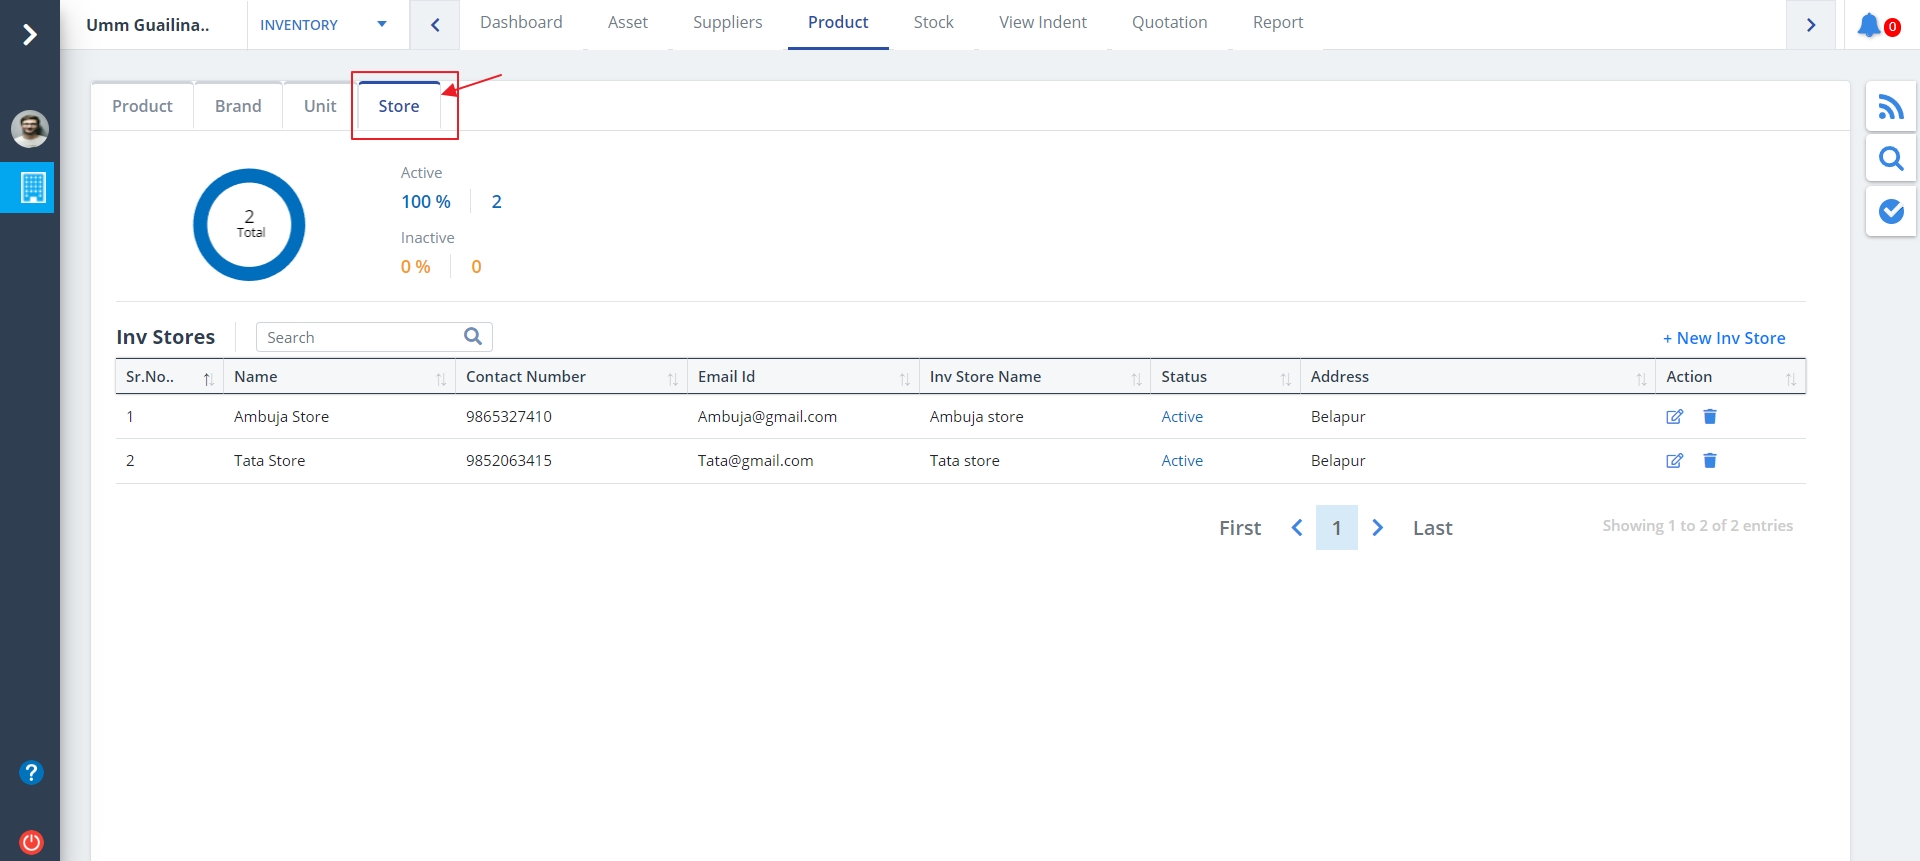
- Click on the theStore tab as shown to view the Store Details list as shown.
- Click on New Inv Store to add a new Store.
- Mention details and click on Add.
Store Edit and Delete
- Click on Edit as shown to modify a particular store data.
- Modify details wherever required and click on Update.
- Use the button next to Edit to delete a particular stock data.